Quick Answer / Expert Verdict: A successful, profitable PV mounting installation relies on meticulous site preparation, precise surveying, and the utilization of highly pre-assembled racking components. EPCs must strictly follow the engineering layout for foundation anchoring, rail alignment, and module clamping torque. Choosing a professional PV mounting system supplier like Sunforson—who delivers highly pre-assembled kits—can reduce on-site labor time by up to 40% while ensuring complete structural safety.
For Engineering, Procurement, and Construction (EPC) companies, time is literally money. A delayed installation schedule due to complicated racking structures, missing components, or unexpected on-site cutting and welding can completely destroy a solar project's profit margin.
As a trusted engineering partner to global EPCs in over 80 countries, Xiamen Sunforson Power Co., Ltd designs mounting brackets specifically to streamline field deployment without compromising durability. In this comprehensive technical guide, we outline the best practices, pre-installation checks, and assembly protocols for installing commercial and utility-scale solar structures efficiently.
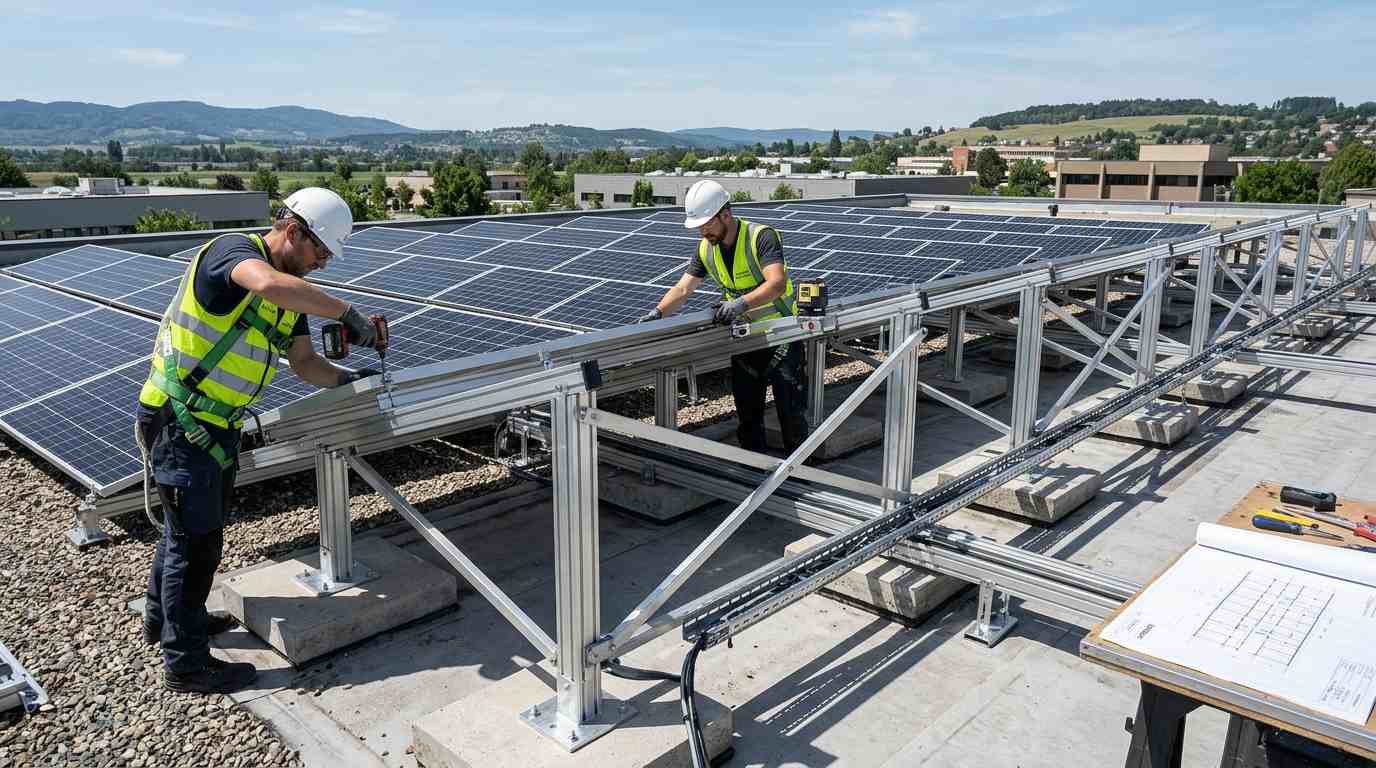
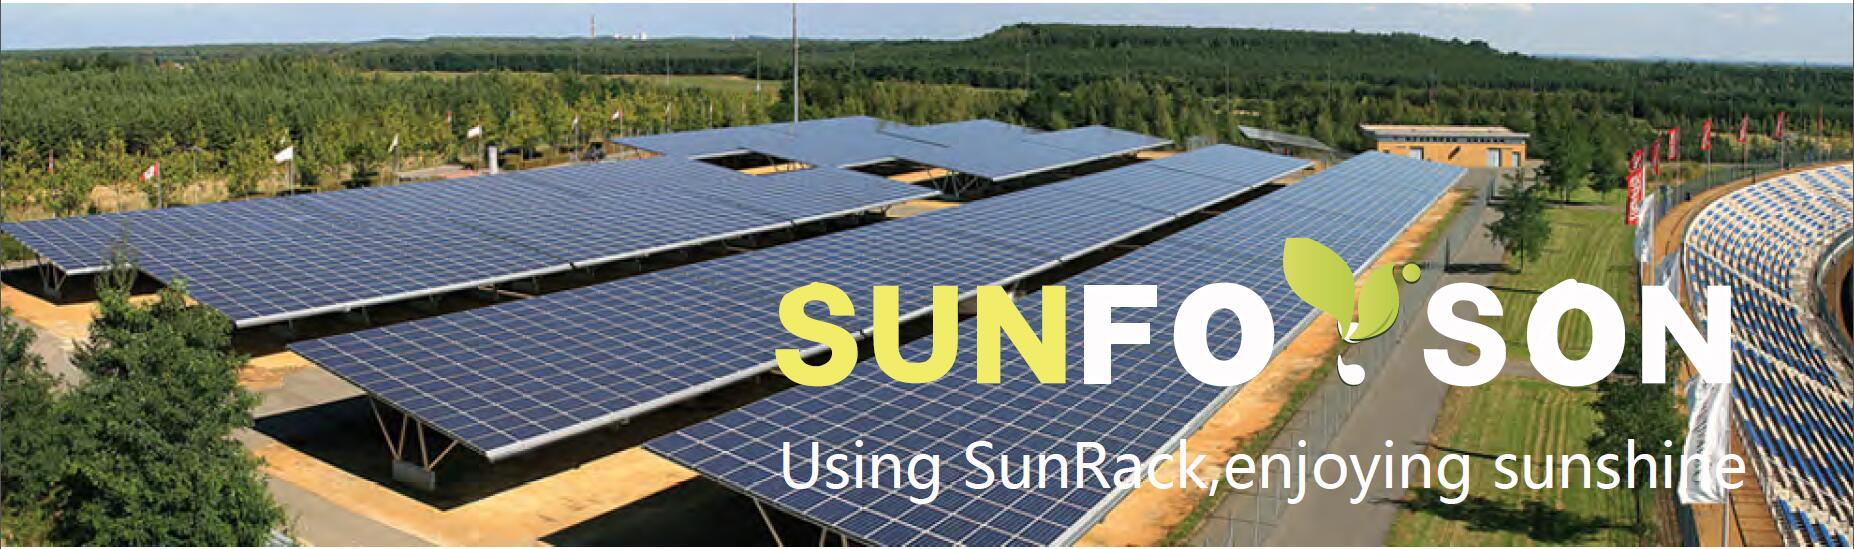
SunRack pre-assembled components ensure fast, error-free on-site installation
Phase 1: Site Audit and Pre-Installation Preparation
Before a single piece of metal is delivered to the site, extensive preparation is required to prevent costly delays during construction.
- Geotechnical Soil Testing: For ground-mount projects, EPCs must conduct mechanical pull-out and lateral load tests on the soil. This confirms the exact depth the steel piles or ground screws must be driven to resist wind uplift.
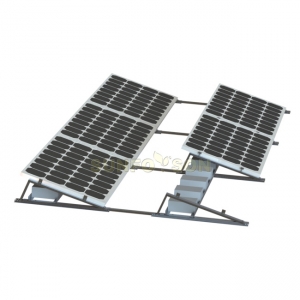
- Roof Structural Integrity Check: Before installing a solar roof mounting system, verify the load-bearing capacity of the building. Aging commercial roofs may require structural reinforcement to handle the added dead load of the ballasted concrete blocks or the aluminum rails.
- Tooling & Equipment Checklist: Ensure your crews are equipped with properly calibrated torque wrenches, laser levels, string lines, and the appropriate hydraulic pile-driving machinery if ramming steel posts.
Phase 2: Foundation and Anchoring Execution
The integrity of the entire megawatt array begins with the foundation. The preparation phase differs drastically depending on the type of system you are deploying:
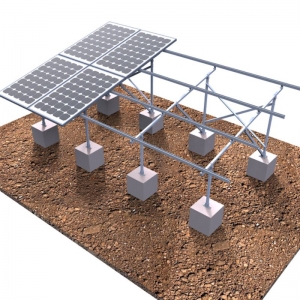
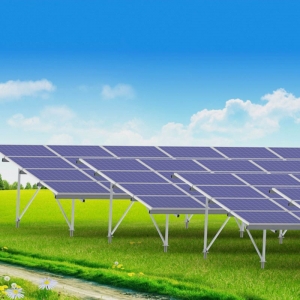
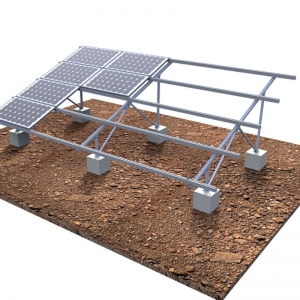
- Deploying Ground Mounts: When installing a ground solar mounting system, surveyors must mark the exact GPS coordinates for every pile. Hydraulic driving machines must maintain strict vertical alignment; even a slight angle deviation (over 2 degrees) at the base will multiply into a massive, unworkable misalignment at the top rail.
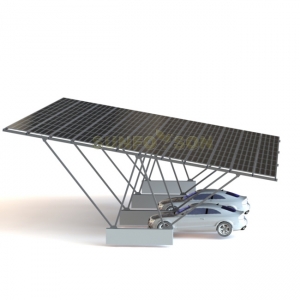
- Deploying Commercial Carports: A commercial solar carport mounting system requires deep excavation. Concrete footings must be poured and cured with embedded heavy-duty anchor bolts. These bolts must be precisely positioned using structural templates provided by the manufacturer before the concrete sets.
Phase 3: Racking Assembly (The SunRack Pre-Assembled Advantage)
Once the foundations or roof attachments are secured, it is time to build the structural skeleton. Traditional systems require workers to sort through hundreds of loose bolts, nuts, and brackets, assembling everything from scratch in the dirt.
To solve this labor bottleneck, Sunforson engineers highly pre-assembled tripods, foldable support frames, and pre-fitted clamps in the factory. EPC field teams simply unfold the main supports, attach them to the foundation, and lock them in place. The main horizontal rails are then connected using simple splice kits. This "plug-and-play" methodology eliminates the need for any on-site cutting, welding, or drilling, ensuring the protective anodized or hot-dip galvanized coatings remain perfectly intact and rust-free.
Phase 4: Module Placement, Clamping, and QA/QC
The final phase is securing the solar panels to the rails and performing Quality Assurance (QA). Follow these critical steps:
- Align the Bottom Row: Always start from the lowest point of the array. Use a string line or laser level to ensure the first row is perfectly straight. This sets the standard for the entire table.
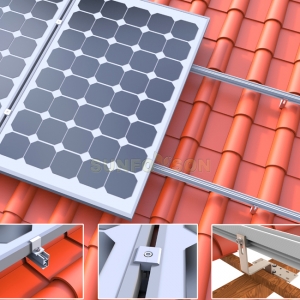
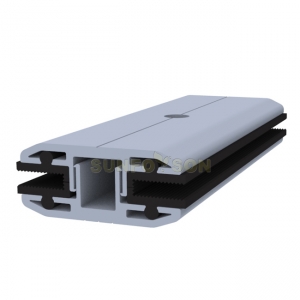
- Strict Torque Control: Utilize calibrated torque wrenches to tighten mid clamps and end clamps to the manufacturer's exact specifications (usually between 15-20 Nm depending on the bolt). Over-tightening can crack the solar glass or warp the panel frame, while under-tightening will lead to dangerous panel slippage during high winds. Implement a "torque-mark" system using a paint pen to verify every bolt has been checked.
- Electrical Grounding Bonding: Ensure that grounding lugs, copper wires, and grounding clips (which pierce the anodized layer of the aluminum rail and panel frame) are properly installed to create a continuous, safe electrical grounding path to the earth.
Frequently Asked Questions (FAQ) for EPC Installers
Q1: What hand tools are required for installing SunRack systems?
Our systems are specifically designed for field simplicity. For the above-ground racking assembly, installation crews typically only need standard hex keys (Allen wrenches), calibrated torque wrenches, tape measures, and string lines. Absolutely no specialized cutting torches or welding equipment are needed.
Q2: Does Sunforson provide customized installation manuals for each project?
Yes, every commercial shipment includes a detailed, step-by-step solar racking installation manual specific to your exact customized layout. This manual includes 3D diagrams, precise component lists, and critical torque specifications to guide your field engineers seamlessly.
Empower Your EPC Team with Pre-Assembled Systems
Reduce your on-site labor costs, minimize installation errors, and accelerate your project timelines with Sunforson's highly optimized, factory pre-assembled mounting brackets.
Request a product sample or consult with our technical engineering team today: info@sunforson.com.