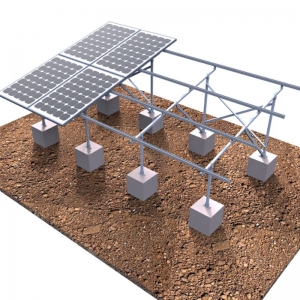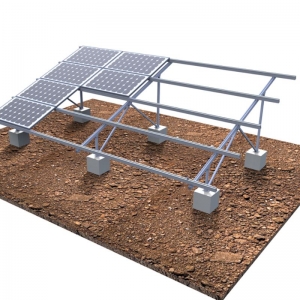
Installing solar ground screw foundations involves several steps to ensure stability and proper alignment for the solar panel system. Ground screws are a type of foundation that is screwed into the ground, providing a secure base for solar mounting structures. Here's a general guide for installing solar ground screw foundations:
Materials and Tools:
Solar ground screws
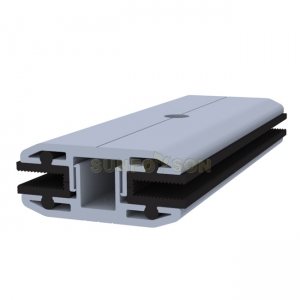
Racking system
Level
Wrenches and sockets
Drill with an appropriate drill bit
Screwdriver
Hammer
Measuring tape
String line
Concrete (if needed)
Installation Steps:
Site Assessment:
Conduct a thorough site assessment to determine the soil type, load-bearing capacity, and any potential obstructions in the ground. This information will guide the placement and installation of the ground screws.
Layout Design:
Plan the layout of the solar panel system, considering factors such as row spacing, panel orientation, and system capacity. This will guide the placement of the ground screws.
Mark Screw Locations:
Use stakes, string lines, or other markers to indicate the locations where the ground screws will be installed. Ensure proper spacing and alignment according to the design layout.
Install Ground Screws:
Use a drill to screw the ground screws into the soil at each marked location. The depth of the screws will depend on the soil conditions and load-bearing requirements. Use a level to ensure that the screws are installed vertically.
Check Alignment:
Regularly check the alignment of the ground screws as you install them. Proper alignment is crucial for the stability of the solar panel system.
Attach Mounting Brackets:
Once the ground screws are installed, attach the mounting brackets to the screws. The mounting brackets provide the foundation for the solar panel racking system.
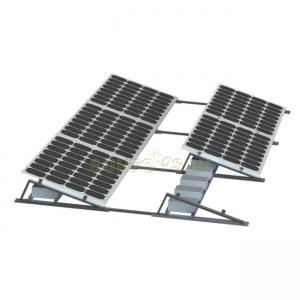
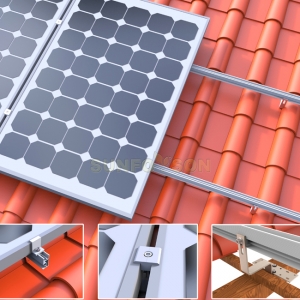
Install Racking System:
Install the racking system onto the mounting brackets. Follow the manufacturer's instructions for assembling and attaching the racking components.
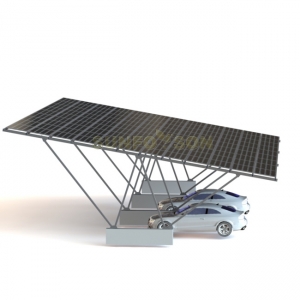
Secure Solar Panels:
Mount the solar panels onto the solar racking system, using clamps or other attachment mechanisms. Ensure that the solar panels are securely fastened to the racking system.
Adjust Tilt Angle:
If the solar panel system allows for an adjustable tilt angle, set the desired angle for the solar panels. The tilt angle should be optimized for maximum sunlight exposure based on your location.
Electrical Wiring:
Run electrical wiring from the solar panels to a central point, where the wiring will connect to inverters and other electrical components. Use conduit to protect and organize the wiring.
Grounding:
Ensure proper grounding of the solar panel system according to local electrical codes. Grounding is essential for safety and system performance.
Final Inspection:
Conduct a final inspection of the entire solar panel installation. Check for any issues with the ground screws, mounting brackets, racking system, and solar panels.
It's important to note that soil conditions can vary, and the installation process may need to be adjusted accordingly. Additionally, consulting with a professional installer or engineer experienced in solar installations and ground screw foundations is advisable to ensure a safe and reliable installation.